Learn Spring - HelloWorld
Posted

环境准备
- JDK 1.8+
- IntelliJ IDEA
- Spring框架(从Spring网站下载)
新建项目
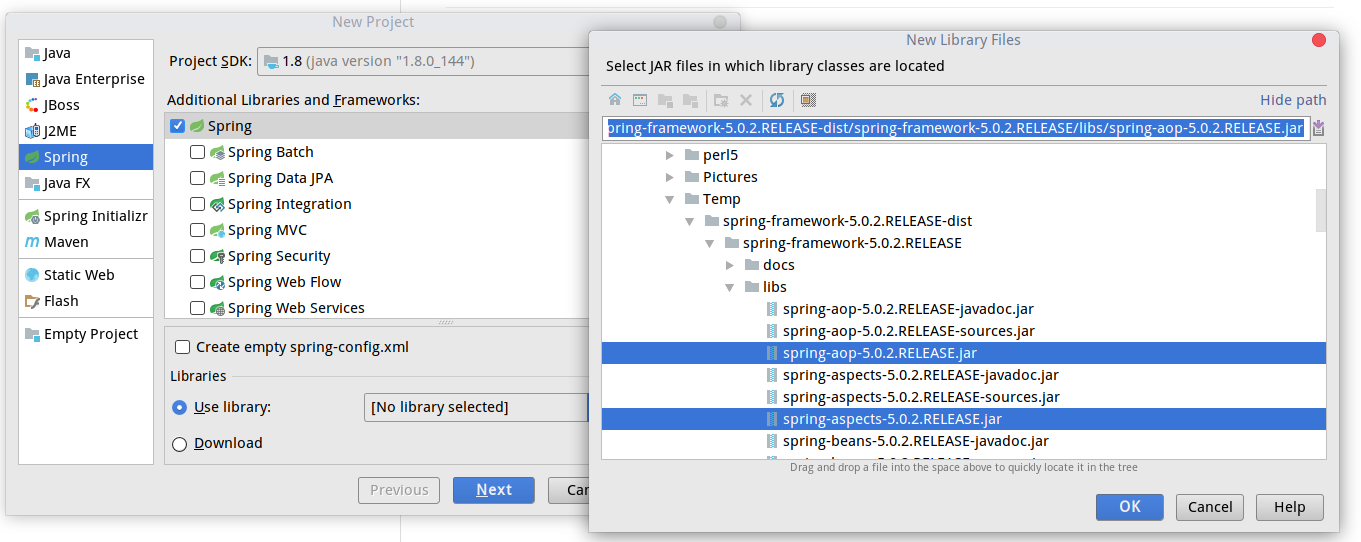
使用下载的Spring框架新建项目
解压下载的框架,选择Use Library,从解压的文件夹的libs子文件夹选择需要的模块(也可以选择Download等待IDEA下载)
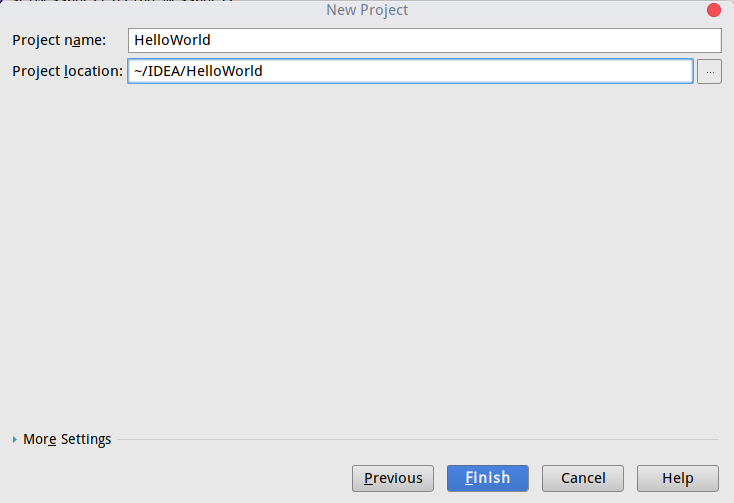
设置项目名
设置项目名为HelloWorld 。
添加代码
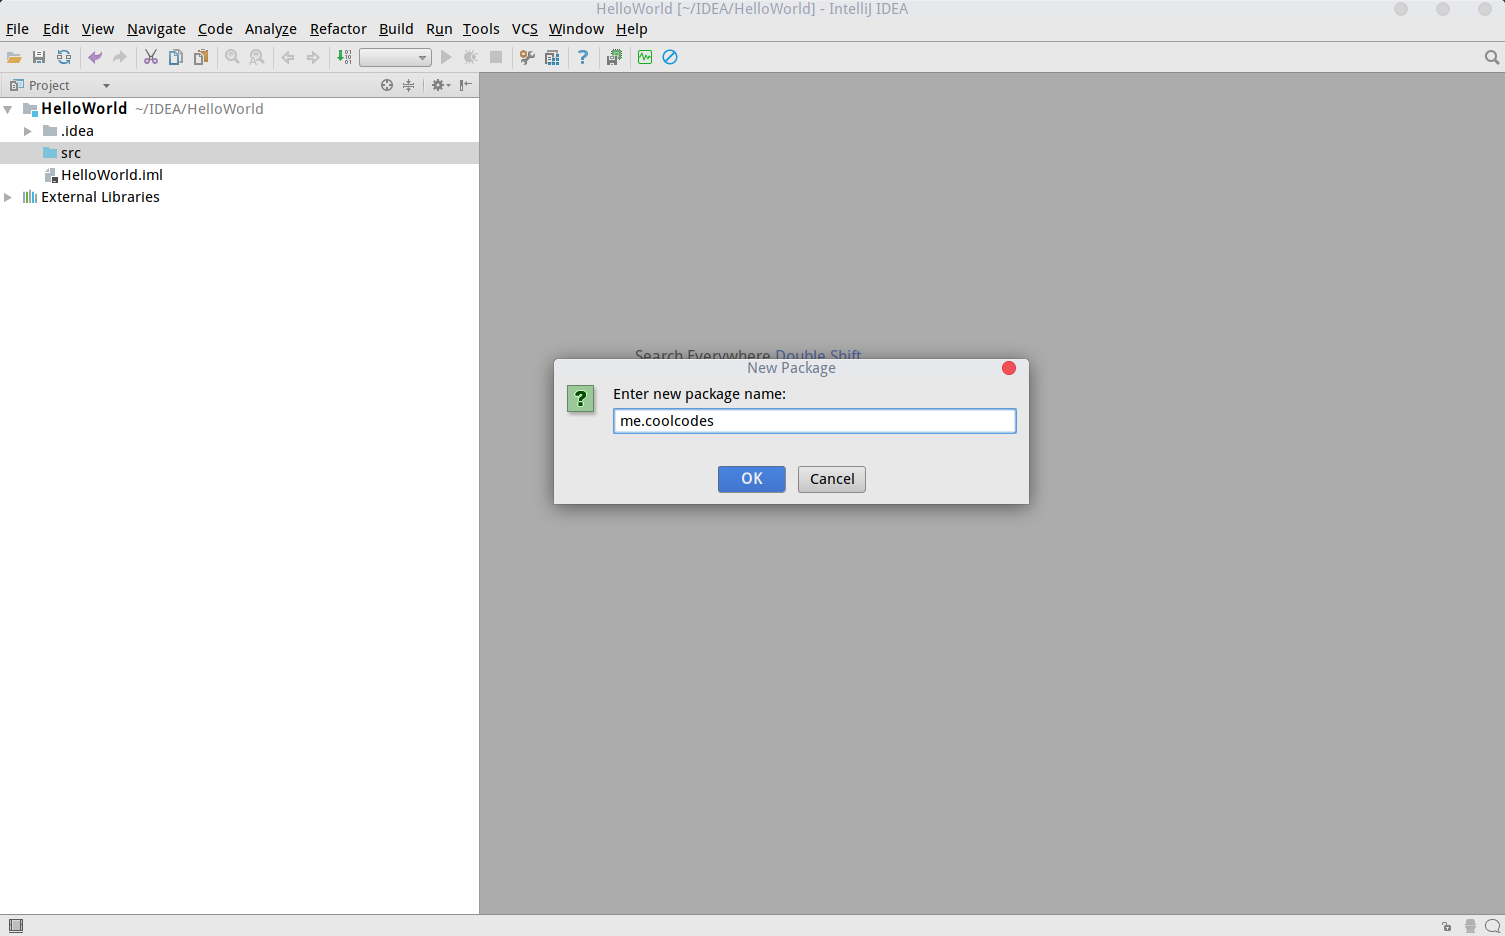
添加me.coolcodes包
在src文件夹下新建me.coolcodes包。
添加HelloWorld.java类
在me.coolcodes包中添加HelloWorld类
package me.coolcodes;

public class HelloWorld {
    private String message;

    public void setMessage(String message){
        this.message  = message;
    }
    public void getMessage(){
        System.out.println("Your Message : " + message);
    }
}
HelloWorld类通过getMessage()方法打印message。
添加Main.java类
在me.coolcodes包中添加Main类
package me.coolcodes;

import org.springframework.context.ApplicationContext;
import org.springframework.context.support.ClassPathXmlApplicationContext;

public class Main {
    public static void main(String[] args) {
        ApplicationContext context = new ClassPathXmlApplicationContext("Beans.xml");
        HelloWorld obj = (HelloWorld) context.getBean("helloWorld");
        obj.getMessage();
    }
}
Main通过ClassPathXmlApplicationContext读取Beans.xml文件new一个ApplicationContext对象。context通过ID创建一个Bean(即HelloWorld对象),并转换成HelloWorld对象。- 调用
HelloWorld对象的getMessage()方法打印message。
添加Bean文件(Beans.xml)
在src文件夹下创建Beans.xml配置文件
<?xml version = "1.0" encoding = "UTF-8"?>

<beans xmlns = "http://www.springframework.org/schema/beans"
   xmlns:xsi = "http://www.w3.org/2001/XMLSchema-instance"
   xsi:schemaLocation = "http://www.springframework.org/schema/beans
   http://www.springframework.org/schema/beans/spring-beans-3.0.xsd">

   <bean id = "helloWorld" class = "me.coolcodes.HelloWorld">
      <property name = "message" value = "Hello World!"/>
   </bean>

</beans>
该xml文件定义了一个Bean,ID为helloWorld,对应于me.coolcodes.HelloWorld类。message对应的值是Hello World!。所以Main中context,通过getBean()方法根据ID创建一个Bean(即HelloWorld对象),并通过HelloWorld的setMessage()方法设置message为Hello World!。所以最后程序的输出应该是Hello World!。
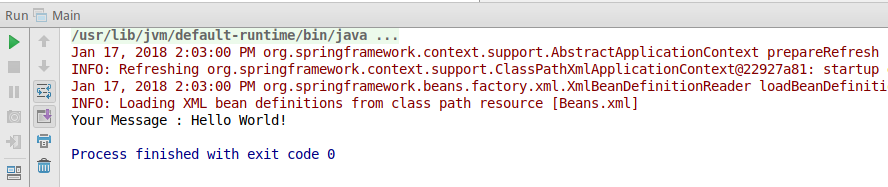
运行
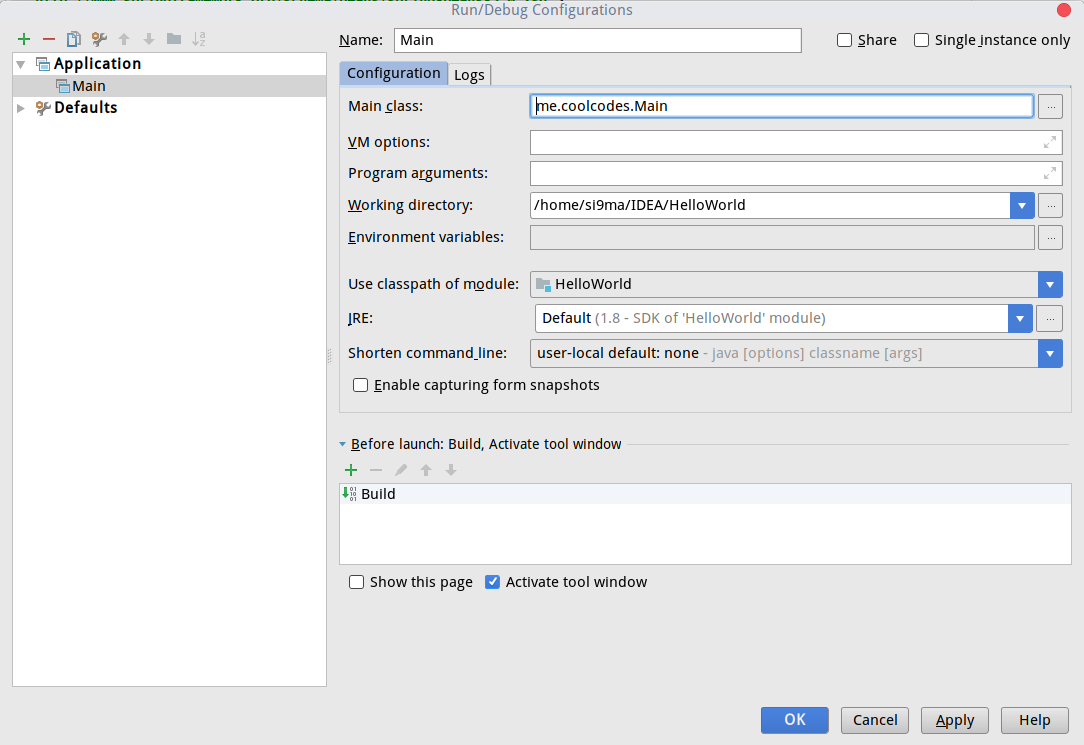
运行配置
添加一个新的Application配置,配置Main类
结果
如前面所说,最后输出结果为Hello World!